· u/Big_Assistant2047 (A friend of MSP Copilot) · Guides · 3 min read
ScreenConnect Cloud Migration - Agent Install Automation
Automate ScreenConnect cloud migration agent installation using n8n workflows and Session Automations instead of manually re-running the Migration Handler.
Frustrated with the Migration Handler extension during a ScreenConnect Cloud migration? It fails to migrate configured Security Roles, Internal Users, and Automations (Triggers), and manually re-running the migration is a waste of time.
This guide shows how to automate the agent installation process using either n8n or native ScreenConnect Session Automations.
The Solution
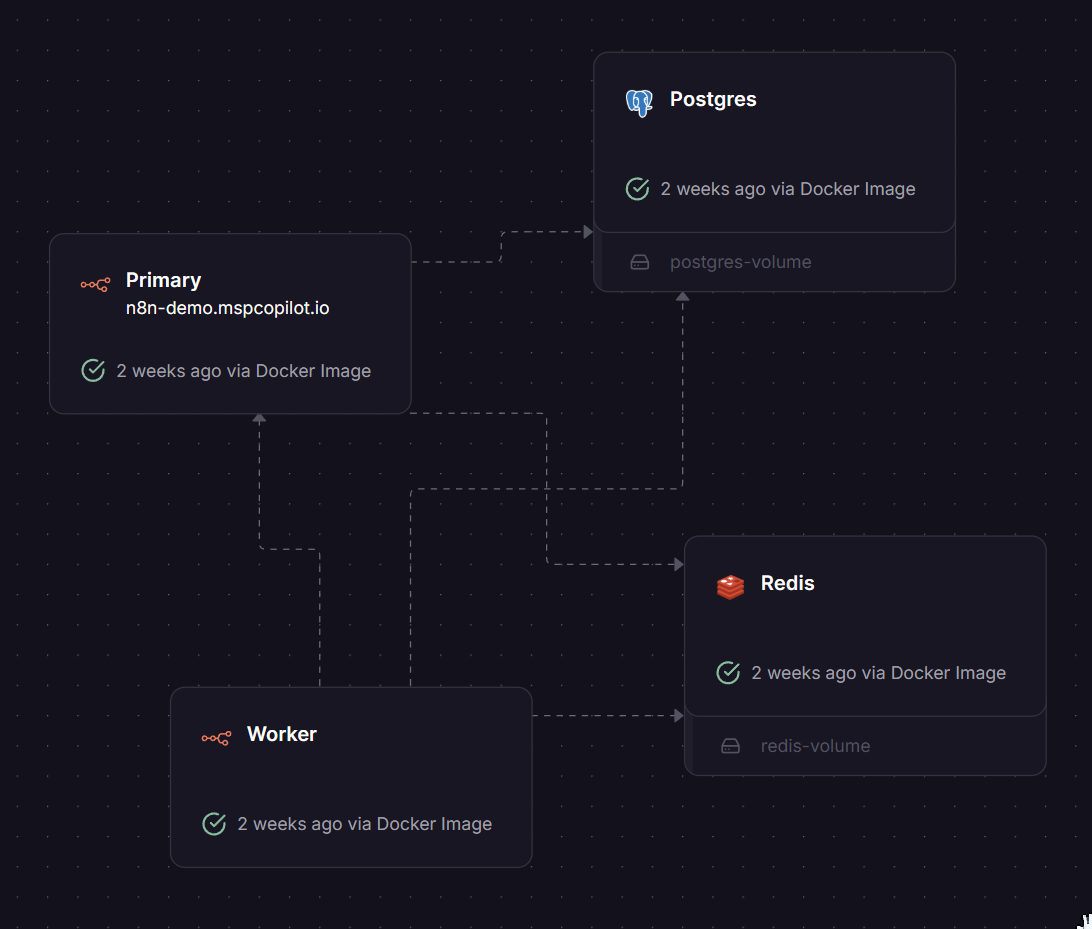
We built an automation using a ScreenConnect Session Automation that calls an n8n workflow. The workflow dynamically builds the install command and then calls the ScreenConnect RESTful API to execute it directly on the agent.
We chose n8n because it provides execution logs and flexibility for future automation. Alternatively, you can automate the agent installation using a Session Event Action in ScreenConnect.
The Workflow
The workflow then calls the RESTful API Manager extension to execute the agent install using the SendCommandToSession endpoint.
Progress Tracking
Use the Dynamic Custom Properties extension to track migration progress. However, it can only be used on Windows machines.
Note: The Dynamic Custom Properties current version is 1.1.7 and only supports PowerShell. The KB version, 1.2.3, has not been released yet (confirmed by ConnectWise Support).
Session Automation Setup
Create a Session Automation to execute a Session Event Action Queue Command using CustomProperty8. Run the below PowerShell to check for the ScreenConnect Service:
# Replace with your ScreenConnect service ID number
if (Get-ItemProperty -Path "HKLM:\SYSTEM\CurrentControlSet\Services\ScreenConnect Client (XXXXXXXXXXXXXXXX)" -Name ImagePath -ErrorAction SilentlyContinue) {
    Write-Host "Completed"
}
Agent Install - n8n
Session Automation Web Request
Create a ScreenConnect Session Automation Web Request Action that filters for session events where the migration is not complete and the event type is ‘connected’:
Session.CustomProperty8 <> 'Completed' AND Event.EventType = 'Connected'Pass the session parameters to n8n as JSON. CustomProperty1 and CustomProperty2 are the customer name and location synced from ConnectWise Automate:
{
  "Hostname": "{Session.GuestMachineName}",
  "SessionID": "{Session.SessionID}",
  "Company": "{Session.CustomProperty1}",
  "Location": "{Session.CustomProperty2}",
  "OperatingSystem": "{Session.GuestOperatingSystemName}"
}
n8n Workflow Configuration
n8n builds the install command based on the machine type (Windows, MacOS, Linux). Here’s the Windows install command example (default from Migration Handler):
#!ps
#timeout=3000000
#maxlength=1000000
function downloadFile($url)
{
[Net.ServicePointManager]::SecurityProtocol = [Net.SecurityProtocolType]::Tls12
$uri = New-Object "System.Uri" "$url"
$targetFile = "${env:TEMP}\cloudMigration.msi"
$request = [System.Net.HttpWebRequest]::Create($uri)
$request.set_Timeout(1200000)
$response = $request.GetResponse()
$responseStream = $response.GetResponseStream()
$targetStream = New-Object -TypeName System.IO.FileStream -ArgumentList $targetFile, Create
$buffer = new-object byte[] 10KB
$count = $responseStream.Read($buffer,0,$buffer.length)
$downloadedBytes = $count
while ($count -gt 0)
{
$targetStream.Write($buffer, 0, $count)
$count = $responseStream.Read($buffer,0,$buffer.length)
$downloadedBytes = $downloadedBytes + $count
}
$targetStream.Flush()
$targetStream.Close()
$targetStream.Dispose()
$responseStream.Dispose()
}
downloadFile "https://<COMPANYNAME>.screenconnect.com/Bin/ScreenConnect.ClientSetup.msi?h=instance-sjlcty-XXXXXX.screenconnect.com&p=443&k=&s={{ $json.body.SessionID }}&e=Access&y=Guest&t={{ $json.body.hostname }}&c={{ encodeURIComponent($json.body.Company).replace(/%20/g, "+") }}&c={{ encodeURIComponent($json.body.Location).replace(/%20/g, "+") }}&c=&c=&c=&c=&c=&c="; Start-Process -FilePath "msiexec.exe" -ArgumentList "/i ${env:TEMP}\cloudMigration.msi /qn"
Agent Install - ScreenConnect Automation Only
If you don’t want to use n8n, you can use a Session Automation to execute a Session Event Action QueuedCommand. You will need individual Session Automations for each machine type.
Session Filter
Event.EventType = 'Connected' AND Session.GuestOperatingSystemName LIKE '*Windows*'QueuedCommand Windows Example
#!ps
#timeout=3000000
#maxlength=1000000
$CP1 = "{Session.CustomProperty1}" -replace ' ', '+'
$CP2 = "{Session.CustomProperty2}" -replace ' ', '+'
function downloadFile($url)
{
[Net.ServicePointManager]::SecurityProtocol = [Net.SecurityProtocolType]::Tls12
$uri = New-Object "System.Uri" "$url"
$targetFile = "${env:TEMP}\cloudMigration.msi"
$request = [System.Net.HttpWebRequest]::Create($uri)
$request.set_Timeout(1200000)
$response = $request.GetResponse()
$responseStream = $response.GetResponseStream()
$targetStream = New-Object -TypeName System.IO.FileStream -ArgumentList $targetFile, Create
$buffer = new-object byte[] 10KB
$count = $responseStream.Read($buffer,0,$buffer.length)
$downloadedBytes = $count
while ($count -gt 0)
{
$targetStream.Write($buffer, 0, $count)
$count = $responseStream.Read($buffer,0,$buffer.length)
$downloadedBytes = $downloadedBytes + $count
}
$targetStream.Flush()
$targetStream.Close()
$targetStream.Dispose()
$responseStream.Dispose()
}
downloadFile "https://<COMPANYNAME>.screenconnect.com/Bin/ScreenConnect.ClientSetup.msi?h=instance-XXXXXX-relay.screenconnect.com&p=443&k=&s={Session.SessionID}&e=Access&y=Guest&t={Session.GuestMachineName}&c=$CP1&c=$CP2&c=&c=&c=&c=&c=&c="; Start-Process -FilePath "msiexec.exe" -ArgumentList "/i ${env:TEMP}\cloudMigration.msi /qn"
Notes
- Replace
<COMPANYNAME>with your actual ScreenConnect instance name - Replace
XXXXXXXXXXXXXXXXwith your actual ScreenConnect service ID - Adjust
CustomProperty1andCustomProperty2to match your environment - The workflow handles Windows, macOS, and Linux installations differently
